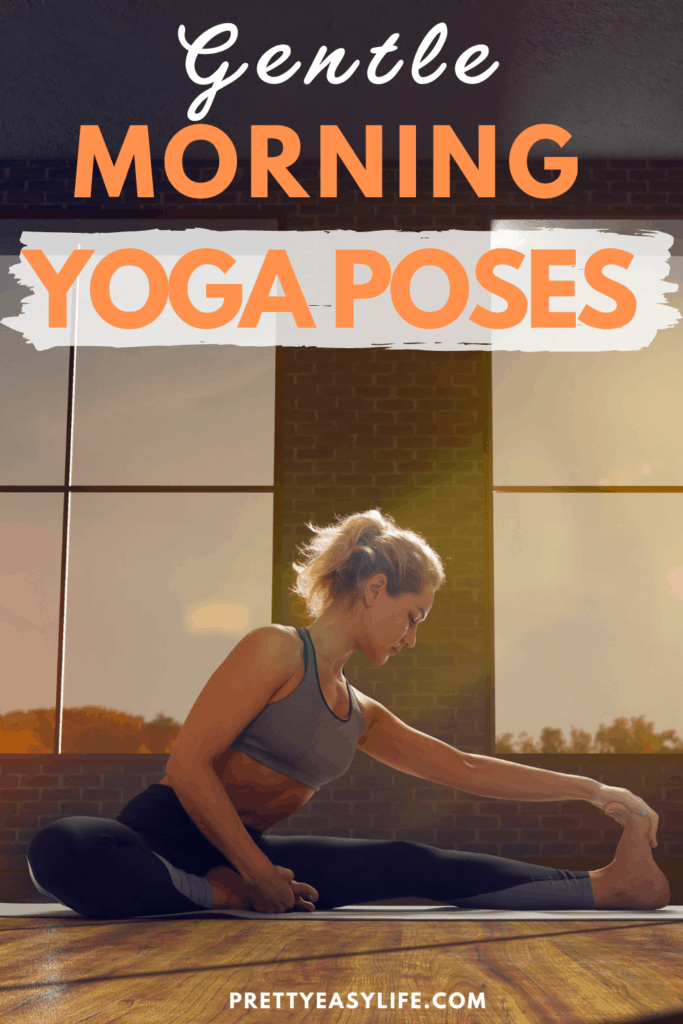
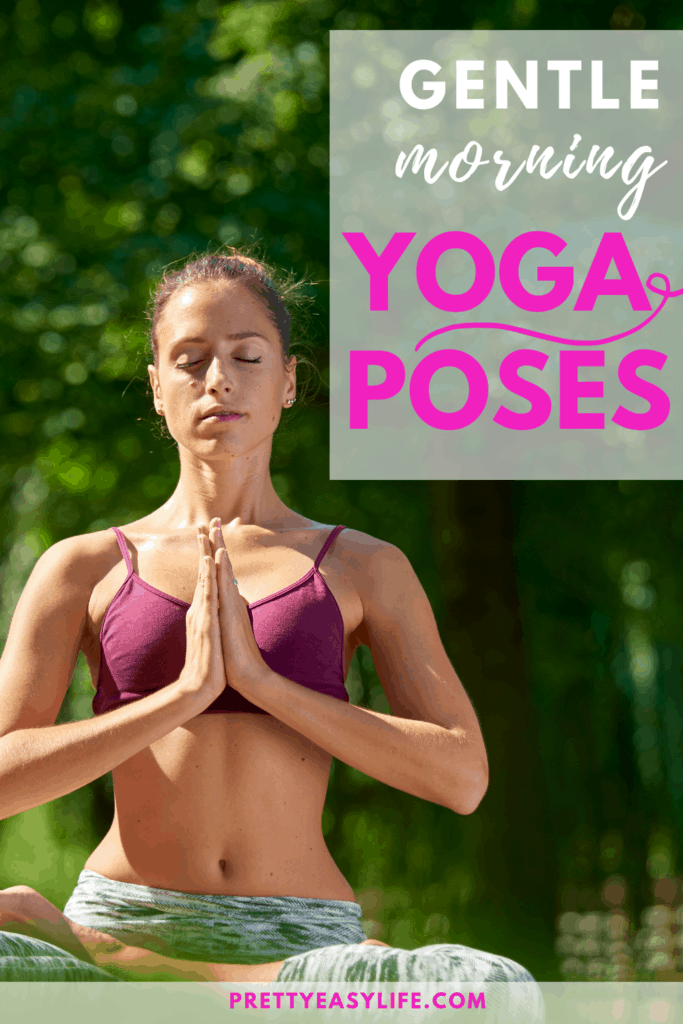
Easy and Safe Yoga Poses you can do every day
If you are wondering if there is an easy and safe way to practice Yoga on your own and you feel this is a type of physical activity that you would enjoy, I have lots of great information for you.
Learning Yoga on your own might sound a far fetched picture when compared to all the fancy Yoga action that is going on now in our Western world, but the fact is that it is very possible to engage in a simple Yoga routine, with easy and safe beginner poses that you could do every day.
It really doesn’t take much for your body and mind to benefit from some simple and easy Yoga poses that you can do at home. Yoga is about cultivating internal and external simplicity and you should be good to go, on your own, for 15 min to 30 min a day.
It is important to start to connect your body and mind with poses that are simple and safe. Trying Yoga poses at home, that are too advanced for you, can only cause frustration and injuries. Before trying these poses, make sure to work within your own range of limits and abilities. If you have any medical concerns, talk with your doctor beforehand.
This is also a great Yoga guide for people who sits all day at work.
Related: Yoga for Beginners Guide
This is a Good Beginner Yoga Guide for you if:
- You just want to try out and see how you like it
- You want a guide for Yoga for beginners at home
- You don’t feel comfortable to join a group Yoga practice yet
- You want to see how flexible you are and how your body will adapt to basic and simple poses
Yoga can be intimidating to start off; it is a very good idea to try the waters beforehand.
Pick a nice and quiet place in your home for your daily practice. Try to find the one spot where you feel a good energy flowing, and you’re ready to go.
Simple and Safe Yoga Poses to do at Home
1- Mountain Pose or Tadasana
I find it very important to start your personal practice with this pose before you go down on your mat. Tadasana is an initial and end pose for a sequence. It is a standing pose that will bring awareness of the body work that you will be about to start:
- Imagine a line of energy all the way up along your inner thighs to your groins. This energy keeps running from the core of your torso, neck, and head, and out through the crown of your head.
- Press your shoulder blades into your back, keeping your back erect and widen your collarbones. Hang your arms beside your torso.
- Soften your eyes, relax your tongue and take a few of deep breaths.
2- Supported Fish Pose
You will need 2 blocks for this pose. It is a great way to start your practice. I always make sure I arrive for my Yoga practices at least 15 min earlier, so I can do my supported fish pose for 10 min.
It is supposed to help with your thyroid, and revert the aging process. You might feel a bit uncomfortable when you stay in this pose for the first time, depending on how soft your blocks are, but after a few times your back will get used to the pressure.
You will be creating a gentle lifting from the externum, opening up your chest, lungs and heart. The goal is to breath deeply and relax. You might even feel your externum stretching with a nice crack like your upper body is being aligned and put back in place. Watch this short tutorial.
You can keep your legs down on the floor or bent, like in the video below. Stay in this pose as long as you want before starting your other poses.
3- Cat and Cow Poses
It is a combination of 2 poses that will massage the spine and the belly internal organs. Start in table pose, with your knees below your hips and your wrists, elbows and shoulders in line and perpendicular to the floor. Center your head in a neutral position, eyes looking at the floor.
Make sure to keep your shoulders and knees in position and from there start breathing, exhale, round ing your spine toward the ceiling and then inhale, lifting your sitting bones and chest toward the ceiling, your belly sinking toward the floor. In the cow position is important to pprotect your neck by broadening across your shoulder blades and drawing your shoulders down, away from your ears.
Take your time and try to pair your breathing with the movements.
4- Extended Puppy Pose
From table pose, let’s move to Extended Puppy Pose, which is a cross between child pose and downward dog.
If you think you need, protect your knees and lower back by placing a rolled-up blanket or bolster between your thighs and calves.
This pose will stretch your back, elongating the spine and shoulders. It is a feel good pose. Take deep breaths there, relax your neck and make sure you’re tucking your belly up. The deep breathing by itself is helping, again, with a gentle internal abdomen massage.
As you exhale, move your buttocks halfway back toward your heels. Keep your arms active; don’t let your elbows touch the ground.
5- Child’s Pose – Balasana
From the Extended Puppy Pose, lower your hips to get into the child’s pose. Spread your knees wide and keep your big toes touching. Rest your buttocks on your heels. If this is not available for you, place a block under your buttocks to minimize the tension on your thighs. If you feel your knees or hips to tight, keep them together.
You will feel very good in Child’s Pose. It is an easy and comfortable position that will help to open up your hips and stretch your thighs, and ankles. It allows for a gentle relaxation of the muscles on the front of the body while softly stretches the muscles of your back torso. It is a very relaxing pose that calms and soothes body and brain.
However, skip this pose if you have a current or recent knee injury. Pregnant women should only practice the wide-legged variation of this pose to avoid pressing the belly on top of the thighs.
Read more about Pre natal Yoga here.
How long you should hold a pose depends on how your body is responding. Normally is something in between 2 to 5 min when you would try to take 5 deep breaths. Yin Yoga would have you holding the pose for 5 min.
6- Downward Facing Dog
From your Child’s Pose, come to your knees and hands, on the table pose and get ready for the Downward Facing Dog. It is a great pose to create a sense of spaciousness throughout your entire body.
Keep your wrists under your shoulders and knees under your hips, while tucking your toes under and lifting your hips up off the floor as you draw them up at back towards your heels.
Your knees should be slightly bent if you’re feeling your hamstrings tight. If it is available to you, try and straighten your legs while keeping your hips back. Walk your hands forward to give the length you need to be comfortable in the pose.
Try to press through your palms and rotate the inner elbows towards each other. Engage your abdomen and legs in order to maintain the torso moving back towards the thighs. Try to hold the pose for 5 breaths and then go down back to your child’s pose to rest.
https://www.youtube.com/watch?v=JmW6Ofblhtk
7- Modified Plank
Plank Pose is an arm balancing yoga pose that works the abdominal muscles strengthening the arms and spine at the same time. It is a very intense pose that requires some body strength. Its name comes from the Sanskrit words “kumbhak,” which means “breath retention,” and “asana,” which means “pose.”
The traditional practice of this pose requires holding the breath for a brief moment before lowering your body into the low push-up position, which is quite challenging. Plank is an essential component of Sun Salutations and is often used as a transitional pose, in which the breath is not held.
It can also be practiced on its own to build strength and stamina, which is the goal of the Modified Plank suggested here.
Benefits of Plank Pose
Plank Pose tones all of the core muscles of the body, including the abdomen, chest, and low back. It strengthens the arms, wrists, and shoulders, and is often used to prepare the body for more challenging arm balances. Plank also strengthens the muscles surrounding the spine, which improves posture.
Practicing Plank Pose for several minutes builds endurance and stamina, while toning the nervous system. As part of the Sun Salutation sequence, it is often practiced many times during Ashtanga, Vinyasa, and Power Yoga classes.
- Begin in the top of a push-up with your elbows directly under your shoulders
- Engage your abdominal muscles to squeeze your belly button up towards your spine while maintaining a neutral back
- Contract your quadriceps and gluteal muscles to firm your legs
- Keep your shoulders drawing away from your ears, and heels over the balls of your feet
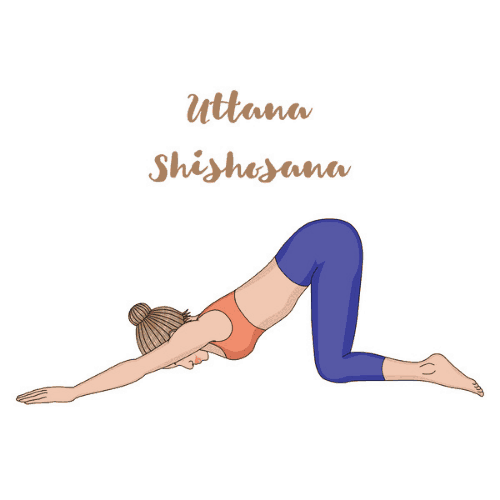
8- Seated Forward Bend
If you spend most of your day sitting at a desk or couch working on your laptop, at the end of the evening your body feels like a stiff block, muscles are tired and barely doing the job of holding your joints together. When you feel like this is time to stop for a break and try any of the Seated Forward Bends.
Forward-bending yoga poses are particularly useful for relaxing your back, neck and shoulders. As you fold your torso forward, relax your neck, letting your head drop, your focus naturally turns inward, which will calm your mind. Your breathing will become slower and deeper, your heart rate will slow down, and your thoughts will settle. These natural body responses, which are gentle and easy, will relieve stress, anxiety, and fatigue.
There are many variations of Forward-bending poses and Child’s Pose is one of them. If you’re following this sequence, you’ve already done it; my suggestion now is to try a Seated Forward Fold.
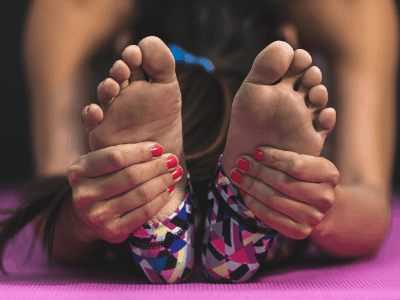
- Sit with your legs extended in front of you. If you’re a beginners bend your knees throughout the pose, straightening the legs only as your flexibility increases
- Inhale as you reach your arms out to the side, and then up overhead, lengthening your spine.
- Exhaling, bend forward from the hip joints, making sure you don’t bend at the waist.
- Lengthen the front of your torso. Try to imagine your torso coming to rest on your thighs, instead of tipping your nose toward your knees.
- Hold onto your shins, ankles, or feet — don’t push beyond your body allows. You can also wrap a yoga strap or towel around the soles of your feet, holding it firmly with both hands. Keep the front of your torso as straight as you can; try not to round your back. If it is available for you, let your belly touch your legs first, and then your chest. Your head and nose should touch your legs last.
- With each inhalation, lengthen the front torso. With each exhalation, fold a bit deeper
- Try to hold for up to one minute.
- To release the pose, draw your tailbone towards the floor as you inhale and lift the torso.
Related: Yin Yoga for beginners – relaxing and restorative
9- Low Lunge (Anjaneyasana)
This is a great pose if you have tight hips or sit behind a computer all day long. It is also a good start to work on your balance, core and thighs strength.
Over time, flexion of the hip (something we do all the time, sitting, walking, running, climbing stairs) tightens muscles in the leg and pelvis. To counterbalance this condition, we need to get some stretch in there, otherwise hip movements will be gradually restricted. The lunge pose stretches the hip flexors, reversing this tendency and restoring a natural range of motion. This is a very important reason why low lunges, or modified low lunges is a Yoga pose to do every day, just to undo all the sitting we normally have at our desks, working.
1- Begin in the table posture.
2- Then step your left foot forward and bring it between your hands. Align your left knee directly over the ankle so that the leg is perpendicular to the floor. Try to void bringing the knee forward from the ankle to protect the front of your knee.
3- Extend the right leg behind you, with the knee and top of the foot on the floor. This position is uncomfortable for the knees, place a folded blanket or a yoga cushion under it.
4- Keep your neck in a neutral position, making it a straight extension of the spinal column, with the head looking down.
5- Once the legs are positioned, lengthen the thighs in opposite directions (left thigh forward, right thigh back) and gently lower the hips and pelvis toward the floor to bring the hip flexors into an engaging stretch.
6- Use blocks to adjust how deep you can go in this stretch. Remember that when you’re starting to practice Yoga, less is more. What it is really important is to be sure your body is aligned correctly to get the benefits of the pose.
In this very short video, watch how a full lunge is done and the amount of core, arms, thighs and balance that is needed. You will also see how to position your knees correctly.
https://www.youtube.com/watch?v=zoYzcqdcjr0
Now, there is a version for a modified Lunge, which is a great safe and easy Yoga pose for you to start with.
10- Supported Bridge Pose
Getting to the end of my suggestions for easy and safe Yoga poses that you could do every day, a supported bridge pose is a great way to finish your mini Yoga practice. This is a pose that will open up your back and chest without a struggle. A supported bridge is an easy way to relax while releasing your spine in some great new directions. You will feel great!
You will need a bolster or blankets for this bridge approach that is more gentle and will stretch the front of the hips, belly, and chest as you rest against a soft support. Use a yoga bolster run lengthwise down your spine, stack blankets to simulate a bolster, or wrap a foam roller in a blanket or beach towels.
How-to: Lie down on your back, feet planted behind your hips, knees up. Lift your hips up to a comfortable level, and place a block under your sacrum.
Tips: The block can used on any of its height positions, depending on how open you feel in your spine and fronts of thighs. Use your inhales to expand your middle and upper chest out over your chin, and your exhales to release all your weight into the block.
In this video you will find different ways to use your bolster and how to position it for the Supported Bridge Pose, which is a restorative yoga pose you can do any time of the day. After watching it, I know, you will want to get your own bolster.
11-Corpse Pose (Shavasana)
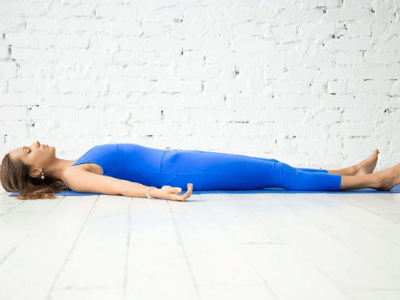
This is the best part of your practice, when you just let the body go, after all the stretching and movement that you did. It is when you close your eyes and enjoy a calm mind. Don’t rush on populating your mind again with thoughts and to do lists, take your time.
The purpose of this pose is to be fully conscious and yet, completely relaxed.
Feel grateful for having a healthy body that allowed you to move freely during this mini practice. Stay in this position as long as you can. Sit up slowly, turning to your left side first, using your left arm as a pillow. Slowly come to a sitting position and open your eyes. Take 2 deep breaths and now you’re ready to start your day with renovated energy!
Namaste!